With the work-from-home culture, the demand for a high-speed internet has increased. That’s why people are relying on Netgear routers as they are the most trusted WiFi devices. For this, they need to perform Netgear router setup first.. But, at times, many Netgear users report less WiFi coverage of their routers. If you are also one of them and looking for a reliable solution, then read this article. Here, we will discuss the different ways that will help you boost the WiFi performance of your router. Continue reading.
-
Place Your Router Correctly
Have you placed your Netgear router in a cabinet or under a table? Well, that’s not an ideal place for your WiFi device. If you want your Netgear router to deliver its best, then consider placing it at the center of a room that is properly ventilated. This way, the WiFi signals of your router can evenly spread throughout your home.
Other points that you need to consider while placing your router are as follows:
-
Avoid placing your WiFi device near the corners and concrete walls.
-
Place your router away from Bluetooth devices, electronic gadgets, and reflexive surfaces. This will prevent WiFi signal interference.
-
It is advised to place your router above the desk, shelf, table, or countertop for better signal distribution. It will also eliminate the chance of WiFi signal interference.
-
Maximize Use of Frequency Bands
If you own a dual-band Netgear router, your WiFi signals will be split by two frequency bands- 2.4GHz and 5GHz. It will help you in assigning specific devices to different bands. The difference between both bands is of the speed and coverage. The 2.4GHz band provides long-distance coverage but transmits data at slower speeds. On the other hand, the 5GHz band transmits data at high speeds but provides less coverage. So, it is recommended to connect your key devices like laptops and mobile phones to the 5GHz band.
-
Utilize QoS for Internet Traffic Management
The Netgear router supports the QoS (Quality of Service) feature to improve internet traffic management. It allows you to prioritize specific traffic to a device for specific usage. If you enable the QoS feature on your Netgear WiFi router, it will help you in prioritizing your internet needs. It means you can prioritize web browsing, online streaming, or online gaming according to the need with this feature enabled.
You can enable the QoS feature on your router by accessing the Netgear Nighthawk setup wizard. Follow the steps given below to enable QoS on your WiFi device:
-
Log into your Netgear WiFi router by accessing the default IP address.
-
On the Netgear Genie setup wizard, click the Setup options under the Advanced menu.
-
Thereafter, click the QoS setup.
-
Look for Add Priority Rule under the Setup QoS rule option.
Now, you can set up the priority for the application, online gaming, or computers connected to your router via the LAN port or MAC address.
-
Hardwire the Connections
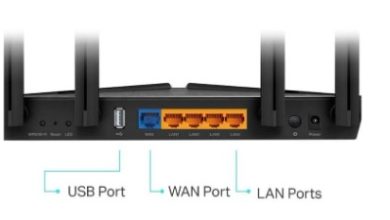
Have you connected your router and modem wirelessly? If yes, it can be one of the reasons behind the poor performance of your Netgear router. Thus, it is time to opt for hardwire connections. Hardwiring the router and modem will help you to access the high-speed internet on your WiFi-enabled devices.
-
Update the Firmware
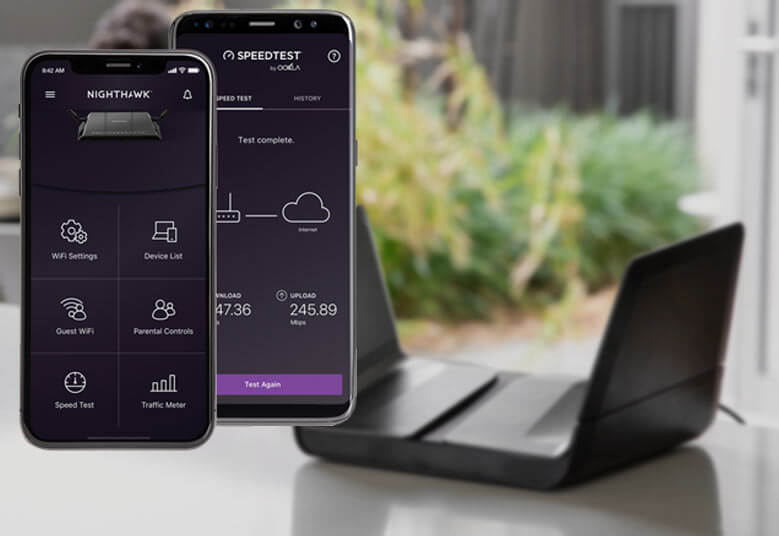
The firmware plays a vital role in the performance of the Netgear WiFi router. Updating the firmware of your device will also fix the bugs and improve security features. If you operate your Netgear router on an outdated firmware, you can’t access a lag-free internet. Therefore, to keep your device running, it is recommended to keep its firmware updated. You can update the firmware of your device either using the Manual method or via the Netgear Nighthawk app.
Summing Up
Still unhappy with the performance of your WiFi network? Perform Netgear extender setup to boost up the WiFi signals and access a seamless internet in every nook and cranny of your home.


