
If you love cars and have the desire to stand out from the crowd, you can easily do so by adding a vinyl wrap to your vehicle. This process is simple and straightforward when done correctly, but it does require some patience and careful planning.
You’ll need an electronic cutter for precise cuts, as well as some basic tools like masking tape and painter’s tape. If you’re feeling adventurous or don’t want to spend any money at all on this project, there are plenty of ways to get around having these things just by using creativity.
Permanent vinyl wraps have made it possible for people to customize their cars in a way that was previously only accessible to the wealthy or professional. Vinyl wraps have become so popular, in fact, that DIY installations are now more common than hiring a professional for installation.
The reasons for this are simple. Installing vinyl wraps yourself is cheaper than hiring someone else to do it. It can be done faster, and there’s something fun about making your own car look cool without paying someone else to do so.
The vinyl wraps that are applied to cars, boats, and other vehicles also act as a protective barrier for the underlying paintwork. When carefully removed, they leave no damage behind, even on older models with fragile finishes.
Clean The Surface
You must thoroughly clean the surface of your car before applying vinyl sheets.
Cleaning cloths: You can use any old rag or towel, but make sure to get rid of any dirt before you start wrapping.
Sponge: This is good for cleaning large surfaces and getting into tight spots that would be hard to reach with just a cloth.
Brush: Use this if there are some stubborn stains on your surface, like rust or tree sap. A brush will help remove these types of stains better than just using water alone will be able to do so by hand.
Cut The Vinyl
The first step is to cut the vinyl. This can be done with a sharp blade, or if you have a guide made specifically for cutting wrap, that will work as well. Make sure to use a straight edge, so your lines are nice and straight.
You don’t want any bulges or wrinkles in your finished product. If your vinyl is heated up before application with a heat gun or similar, it will be much easier to apply without bubbles forming under the material.
Remember that for most vinyl films, the recommended post-heating temperature is 175°–195°F. It’s important to use an infrared thermometer when checking your film’s temperature so you can make sure it has reached the limit, or else more temperature will damage the sheet.
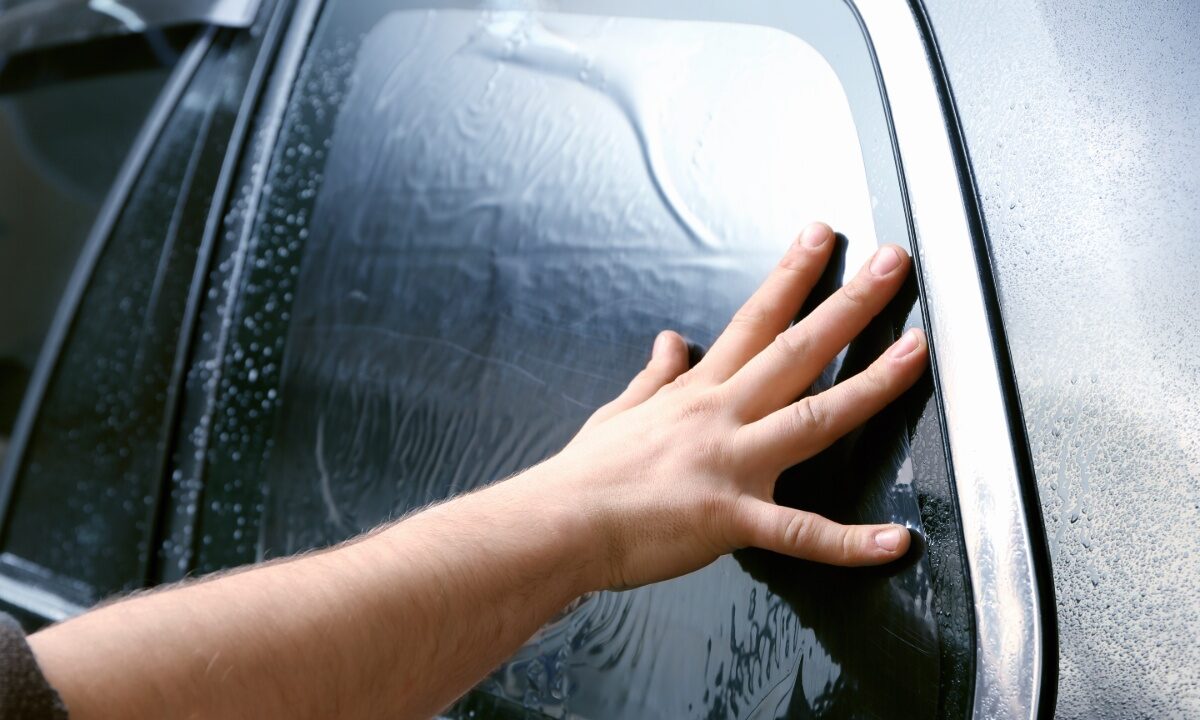
Apply The Vinyl Wrap To The Car
You’re almost done. The last step is to apply the vinyl wrap to your car. Make sure that the surface of your vehicle is clean and dry. It will help with adherence.
If you’re using a heat gun, put it at about 30 cm from the surface and hover over it for just long enough for the vinyl to become slightly pliable for about 20 seconds. Start in one corner of your vehicle and squeegee across until you’ve covered everything; then do another pass over all sides so that no air bubbles remain.
Concentrate on keeping even pressure while you’re applying the material. You can use an old credit card or other flat, straight object as a straightedge to smooth out any wrinkles or bubbles as they appear. If there are any rough spots after smoothing out these bubbles but before drying, put more heat on that area until it becomes soft enough for you to smooth out easily with a squeegee or by hand.
When everything looks good and dry, use another heat gun set at a low temperature in order to seal up any holes where air may have escaped during application. This will also help keep dirt from getting into areas where it might damage adhesion.
Keep in mind that most car wraps last from five to seven years. After that period, the vinyl will begin cracking and peeling off of vehicles. It’s safe to keep an eye on your coating before it gets too vulnerable to dents.
Lay Down A Protective Coating Once You’re Done
Congratulations, you are now the owner of a beautifully wrapped vehicle. If you want your car to stay looking like this forever, you’ll need to protect it with a protective coating.
Many different types of coatings are available in today’s market, so it may be difficult for some people to choose which one is right for them. In general, though, most people prefer using a spray-on product because it allows them the most versatility when applying their protective coating to the car.
A good quality spray-on coating will come in two parts: one part liquid and one part solid powder that must be shaken before use (and then sprayed onto your vehicle). Once applied correctly and evenly on all surfaces, this combination dries within minutes without leaving any lint or residue behind, making it easy for anyone who wants their cars to look great even after years have passed since applying their first layer.
If you’re thinking about vinyl wrapping your car and want to know how to do it yourself, we hope this article has given you some helpful tips. From choosing the right vinyl wrap for your needs to learning how to cut and apply it correctly on your vehicle.
Remember: only use a high-quality product with good adhesive so that your design won’t peel off too soon. Lastly, don’t forget about protecting what you just spent hours creating from being damaged by UV rays or scratches.